Zapier is a web-based automation framework that connects various apps and services to automate tasks. Users can create “Zaps”, which are workflows consisting of a trigger which leads to one or more actions. As an example, a Zap could automatically save email attachments from received in Gmail to a Dropbox account.
CrowdComms has integrated the functionality offered by our public API into the Zapier platform. This allows for actions to be taken in response to triggers, either in your own environment or on the CrowdComms platform. For example, the trigger could be the creation of a new user on a CrowdComms application which could send the details of the created user to a Salesforce instance, allowing you to replicate users between the two platforms.
Creating a ZAP with a CrowdComms Trigger
A trigger is an event that initiates a Zap. In this example, we’ll look at creating a Zap that is triggered when a user profile is created on your CrowdComms app.
We’ve setup a Trigger in Zapier that will initiate whenever a user account is created, modified or deleted on a CrowdComms application. We can use this trigger to take specific actions.
After logging into Zapier at https://zapier.com/, we can create a new Zap by navigating to “+Create > Zaps” and clicking on “+Create > Zap” in the tip left corner.
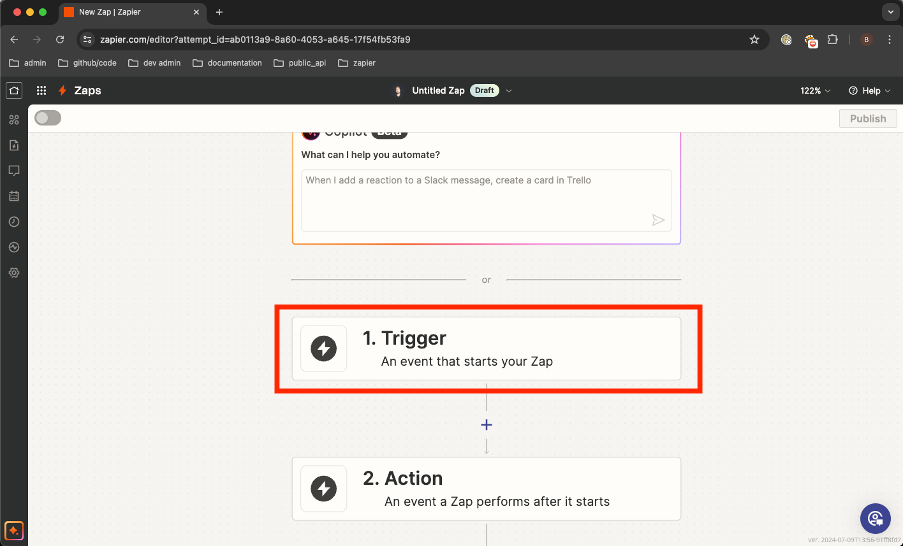
Once you have created a new Zap, click the “Trigger An event that starts your Zap” button to add a trigger.
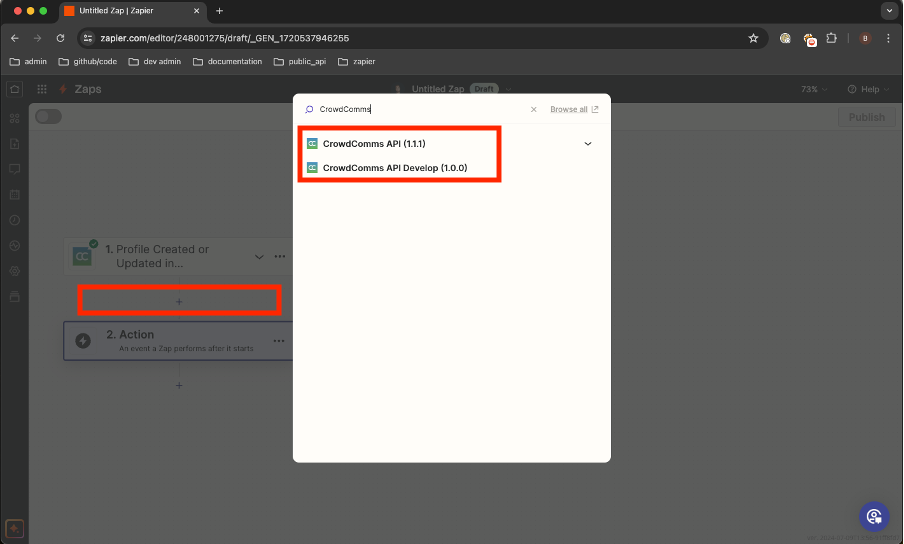
Here we will search for then select the “CrowdComms API Develop” and choose the Event “Profile Created or Updated”. This trigger will initiate when a user profile is created, modified or deleted.
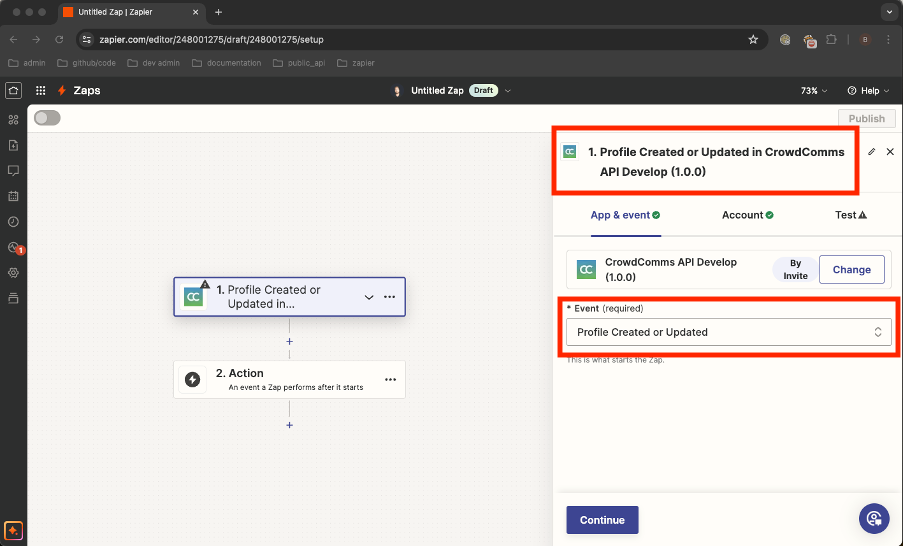
After this, confirm the account details you want to use for the CrowdComms public API. This will determine which application/s you can connect to. Then, under the “Test” tab, verify that the Trigger can retrieve user details from the CrowdComms public API.
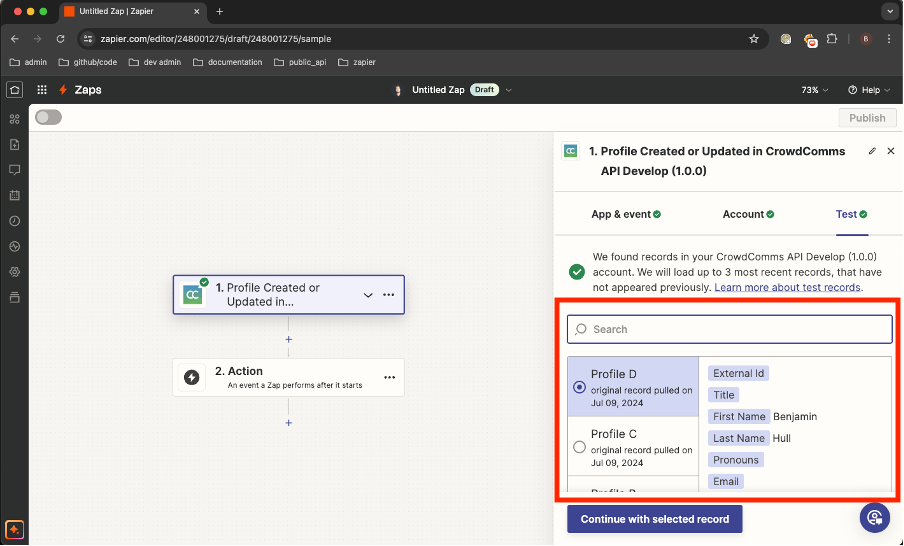
Once you have retrieved a user profile record, select “Continue with the selected record”. You have now successfully implemented a Trigger.
We now need to add an Action. In this example we’ll add an action to send data about a user profile to a webhook, however, you could implement a variety of Actions across different platforms supported by Zapier.
Select “Action” and search for “Webhooks by Zapier” or another integration. Click “Webhooks by Zapier” to add the Webhook as an action. Then select the Event type that you want – in this case we have chosen to send a POST request to the Webhook.
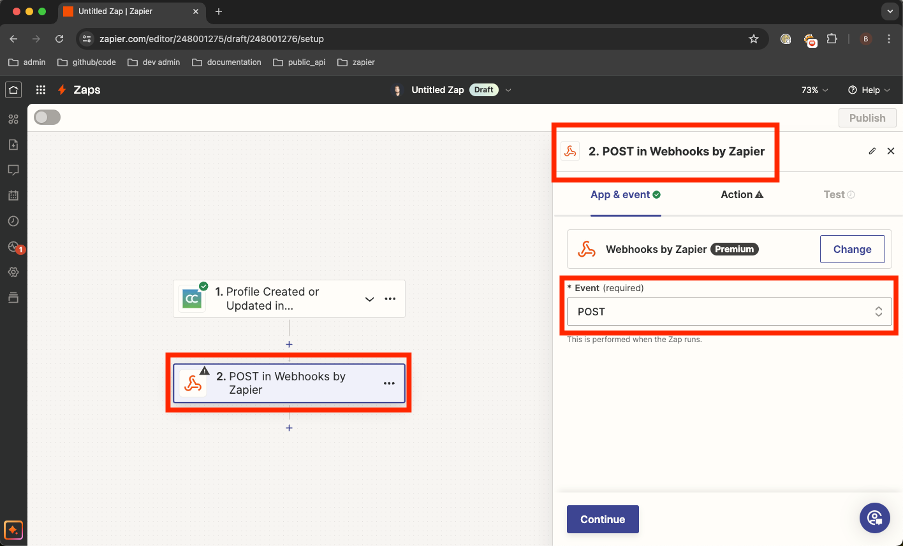
In the “Action” tab, fill out the details for the Webhook URL and the data that you will send to the Webhook. Here we can send data returned by the “Profile Created or Updated” trigger.
Next move over to the Test tab to test that the configuration works. Click “Test Step” to send a test request to your Webhook endpoint.
Now, whenever a profile is created, updated or deleted this will send a request to your Webhook. Setting up a different Action may have different requirements from a Webhook, but the process is similar. Please refer to the documentation provided by the developer of the Action for further details.
Creating a Zap with a CrowdComms Action
Actions can be implemented by integrating directly with the CrowdComms API. In this example, we’ll implement a simple Action to retrieve a list of users on your application when a user profile is created, updated or deleted. You could choose to add a different Trigger from another platform if required.
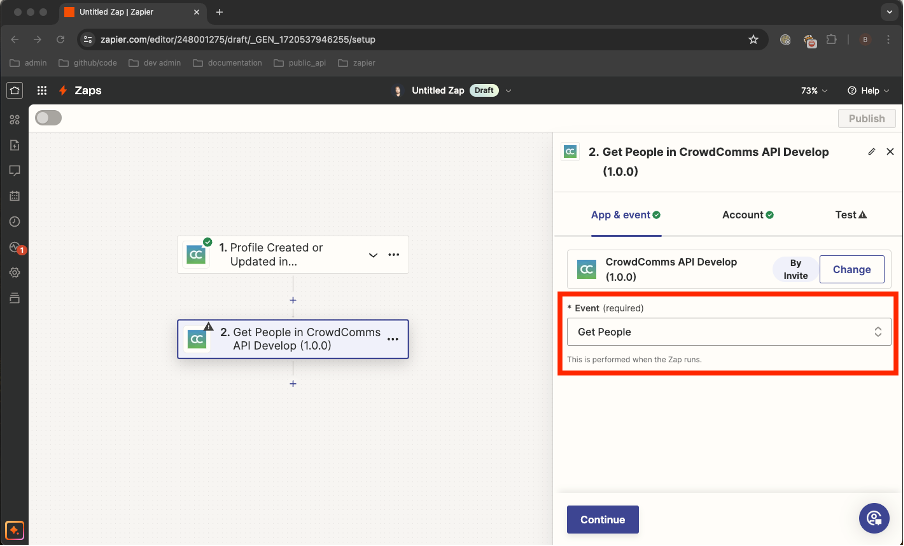
Create a new Zap and follow the steps in the previous example to add the “Profile Created or Updated” trigger to your Zap. Then click the plus button to add an Action to your Zap. Search for CrowdComms and select the CrowdComms API.
Once the action has been added, select the Event you want to use. In this case, we’ll select the “Get People” event, which returns a list of users on the CrowdComms application.
Next select the Account you want to use in the Account tab. This will determine which CrowdComms application the Action will run against.
Under the Test tab, we can configure the data to be sent in the Action. In this case, there are no parameters required, but on a different Action we may need to configure the data used by the action. Click “Test Step” to test that the Action is working as expected. You should have a list of people on your application returned from the action.
Now whenever a profile is created, updated, or deleted, the Zap will retrieve a list of all users on the application. You can implement more complex logic and integrate with other platforms if required.